Skyland-Sim Post-Mortem
I was gonna do a full post-mortem talk, but I accidentally closed the page, trying to drag and drop an image when I was half-way through without saving, so I'm just gonna keep it brief with mostly pictures and gifs, bc I am just really tired.
1. Concept
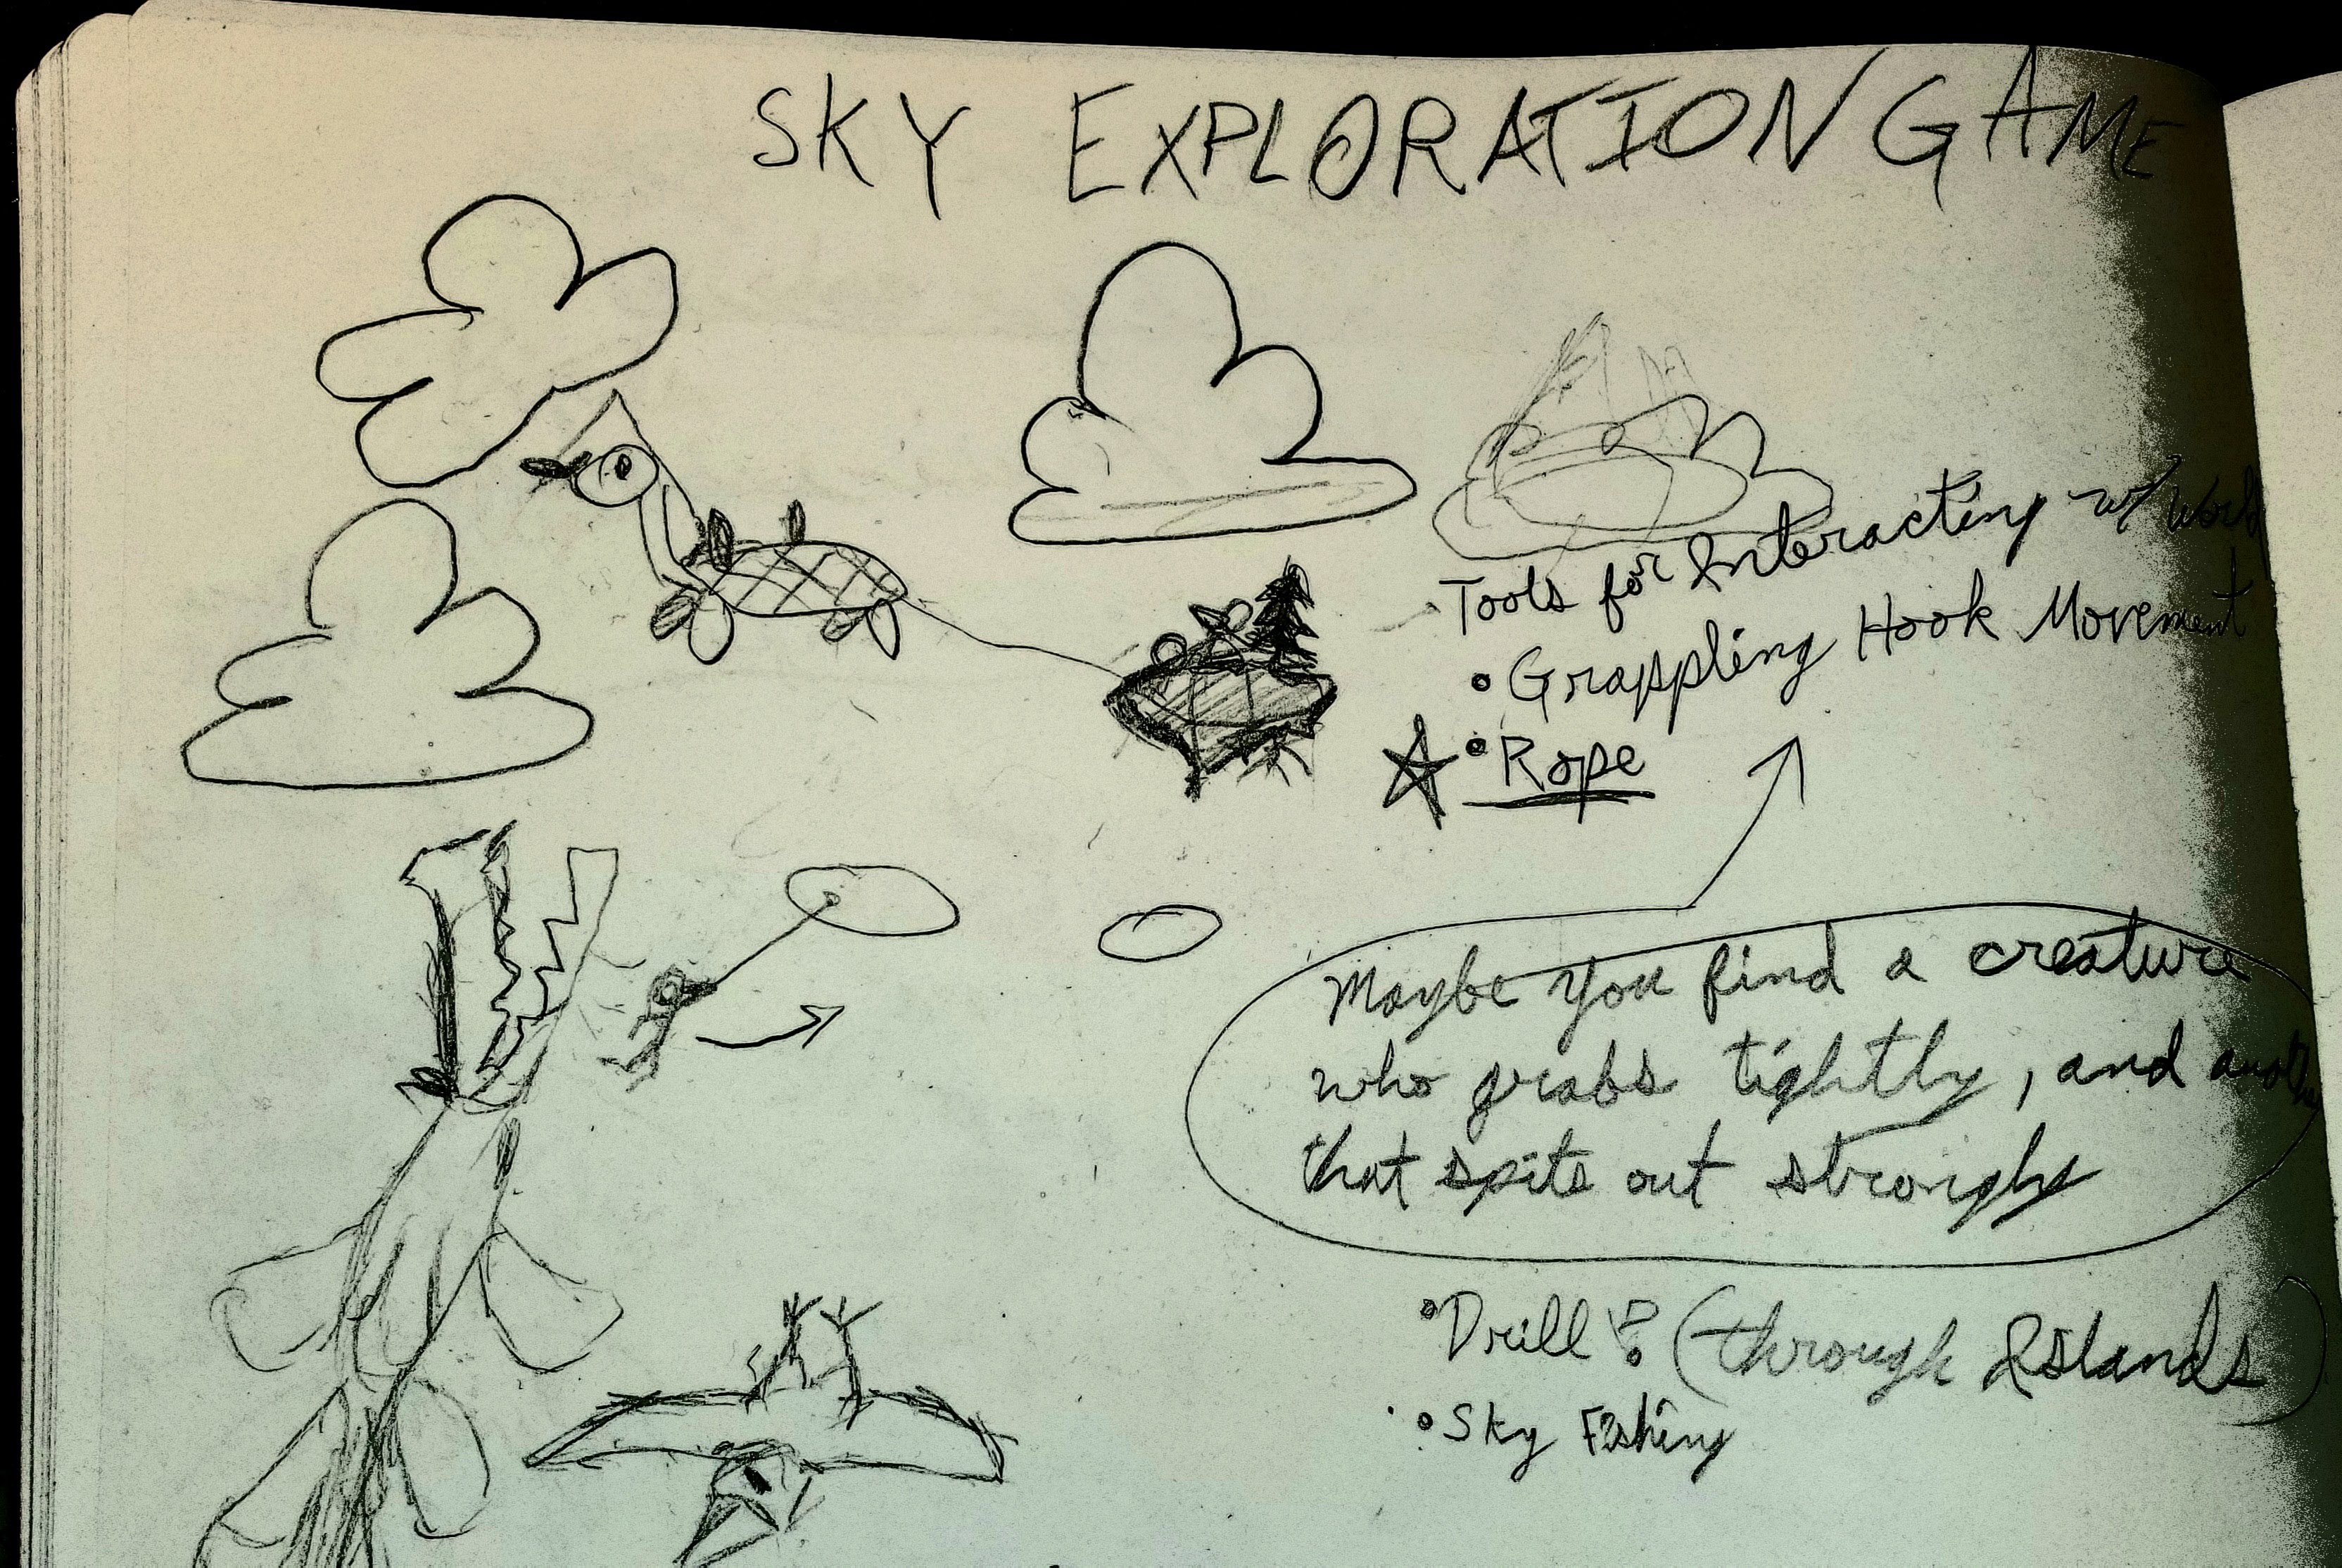
I started out wanting to practice making a Sky world space to work towards my further goal of making a Sky Exploration Game.
I found Sim Jam, and thought it was perfect for trying to design an ecosystem to practice.
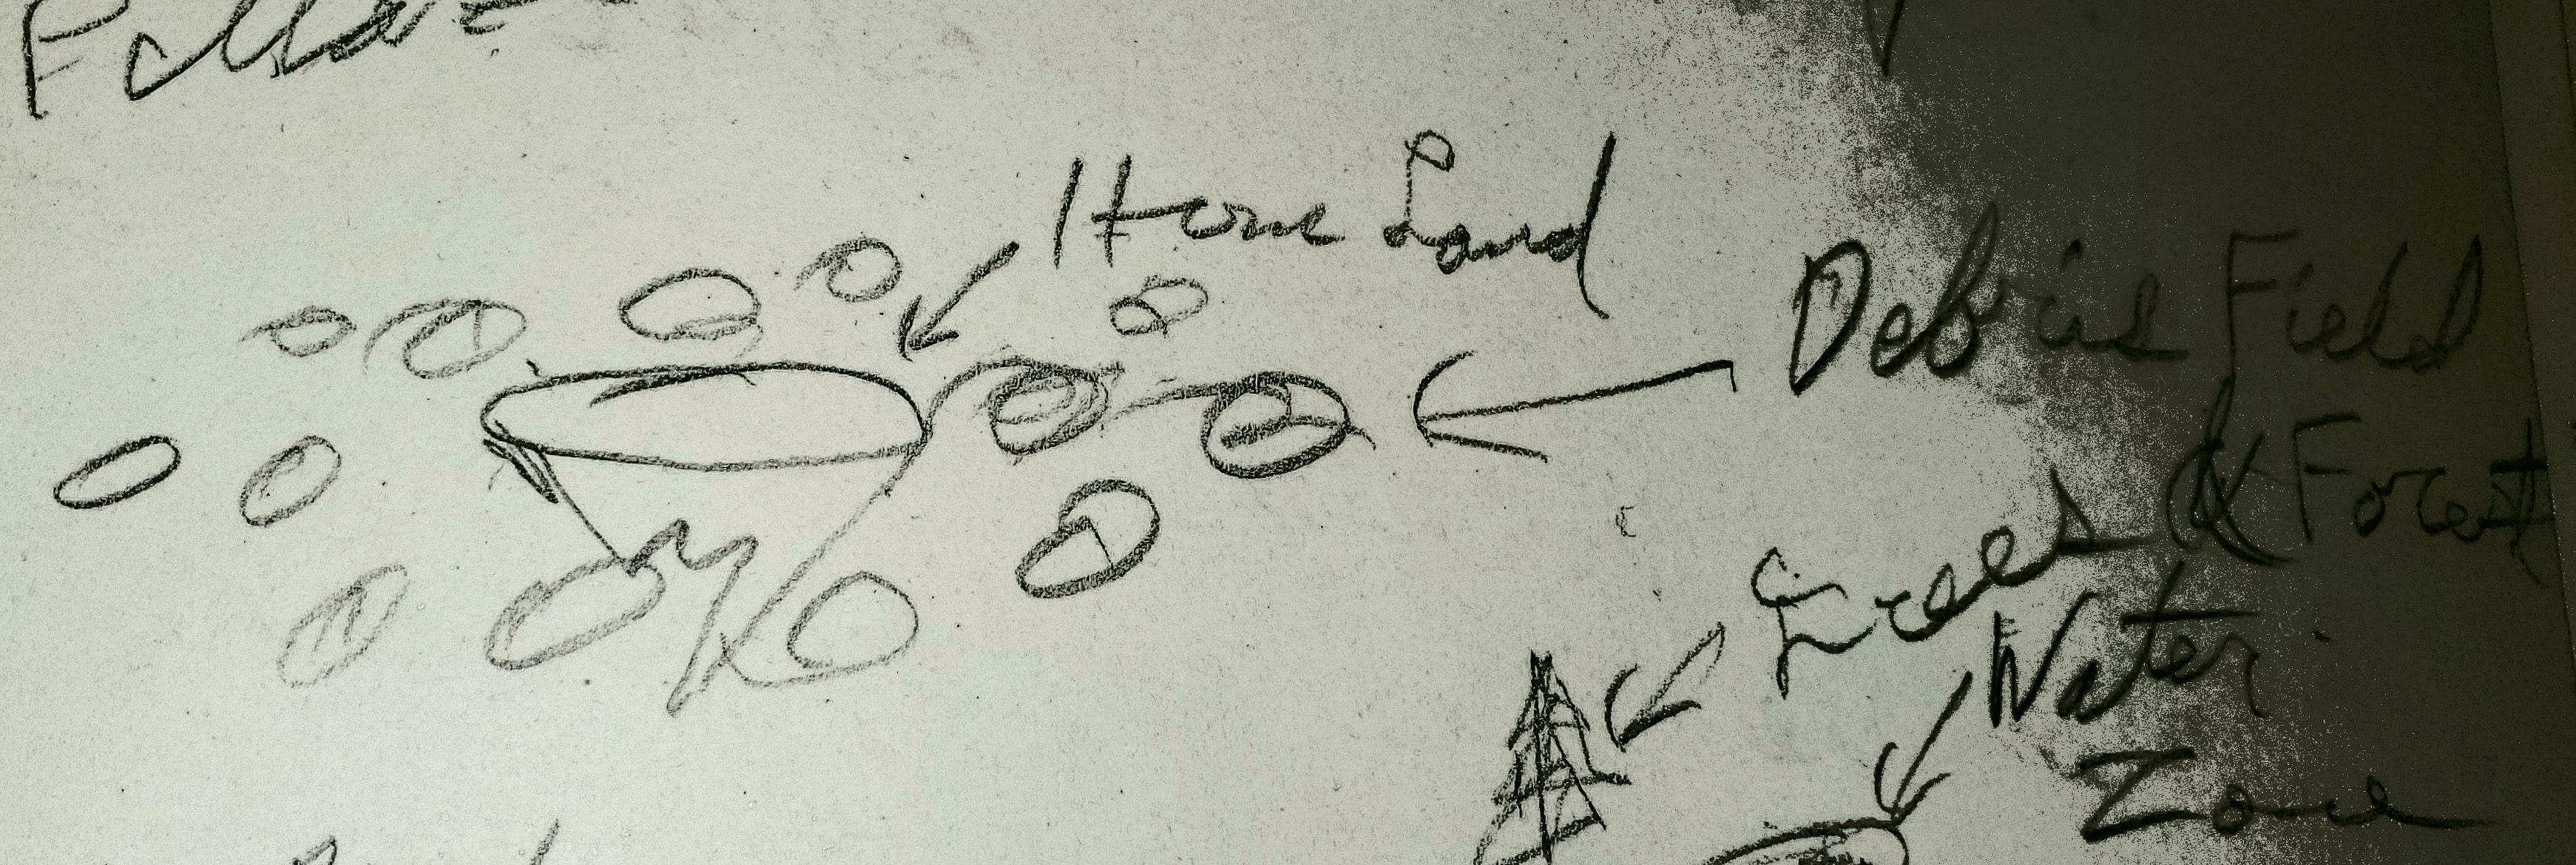
2. Clouds (to make it actually feel like the sky)
The one that float in the air simply spin around the main land-mass and spawn in the air.
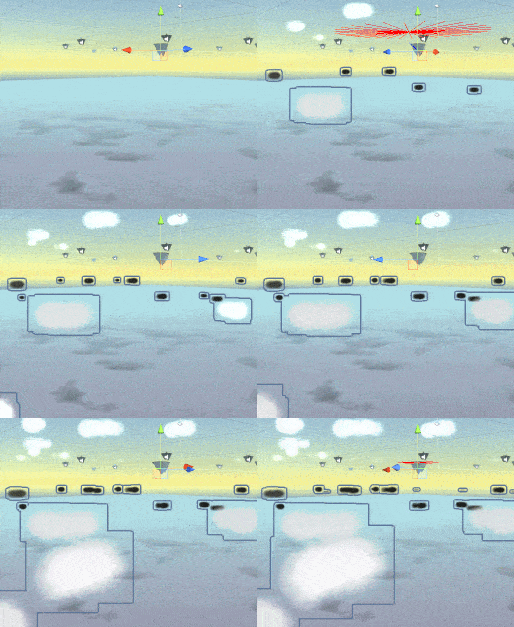
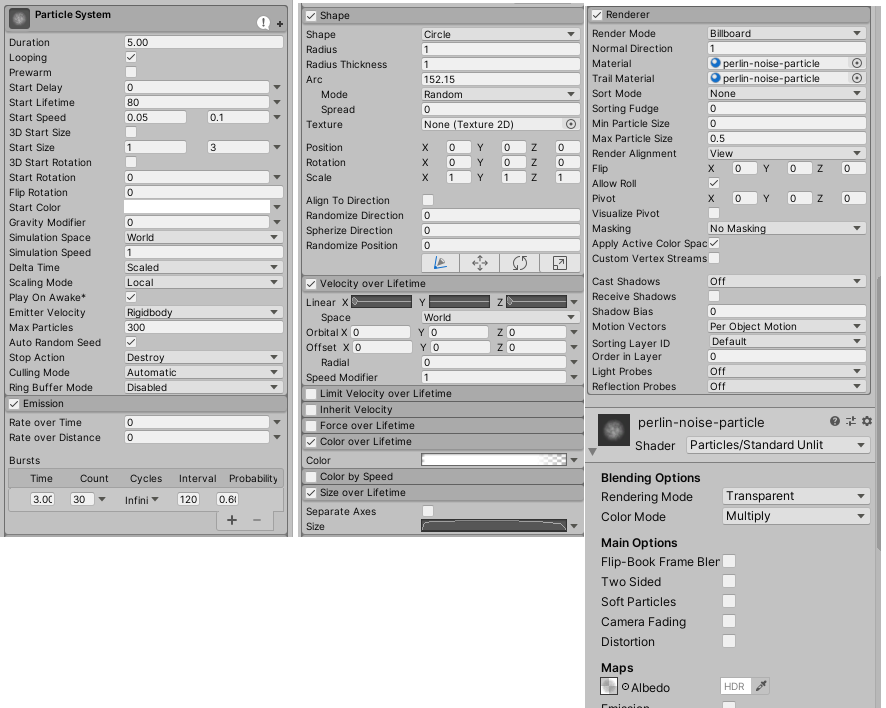
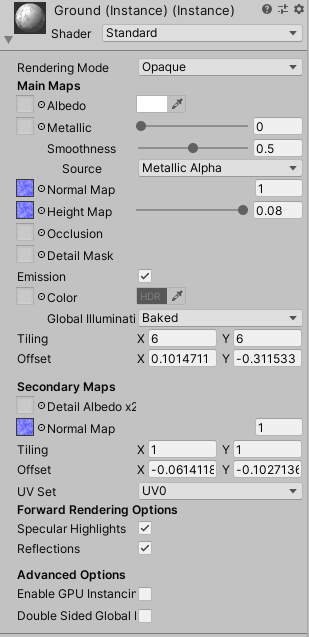
The clouds under the main land mass is actually just a plane with a perlin noise height and normal map scrolling across at different rates to create the effect of clouds moving. I was surprised by how effective it was.
3. Vines
[improv tik-tok joke]
The vines might have been better off if i had simply used a trigger to detect incoming land pieces, but instead i used a system of raycasts in a circle around each connected land mass to find new land to stretch vines to in an organic way.
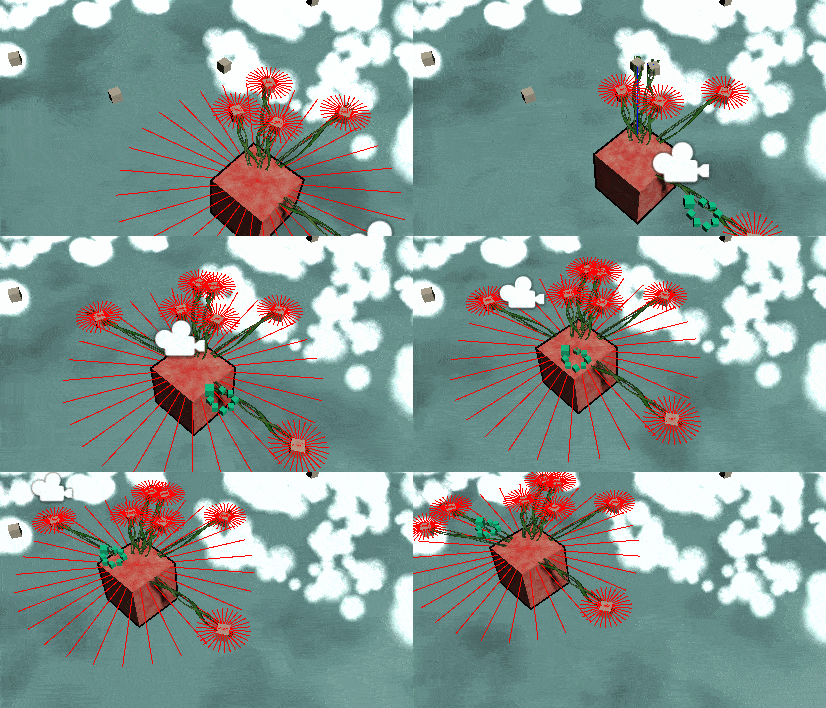
Then I made the script work over time by slowly stretching out, in both texture and raycast with quite a bit of trial and error. It also upon reaching and locking in the land-piece, would generate a scaled vine collision box, to cover the area between the central land mass and the newly added land piece, to place more plants and grow more grass on.
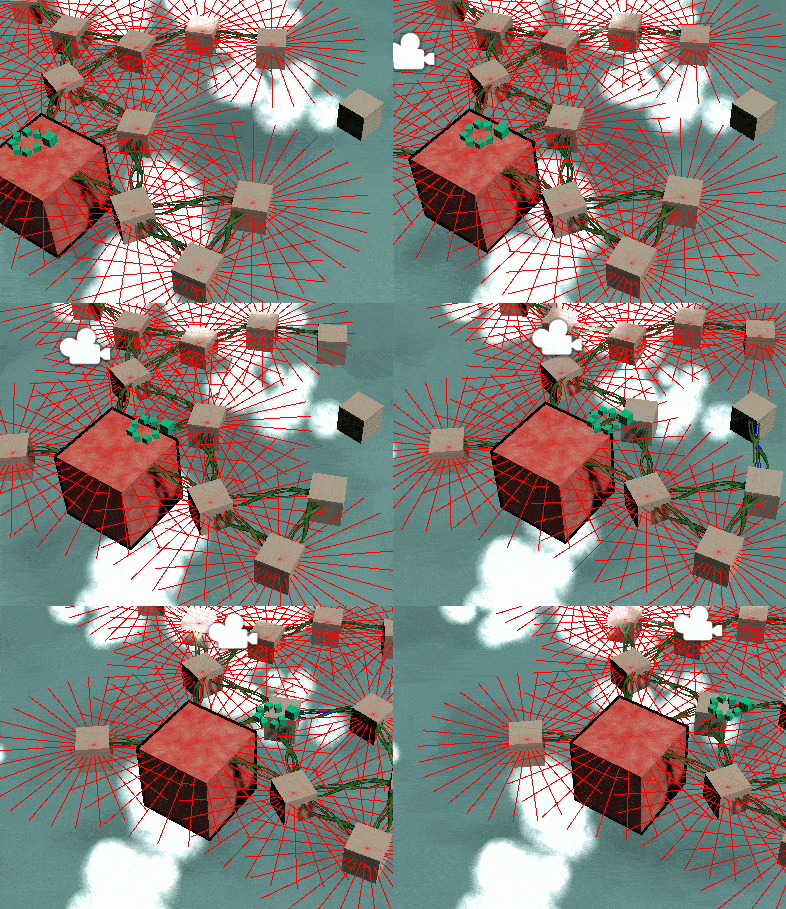
There's a lot more optimization of the raycasting that went on after this as you can imagine. Decreasing number of rays, Decreasing frequency of raycasts, spinning the circle of raycasts to cover more area with less rays, etc.
4. Plants/Flora
I was running out of time when I got to the plants, so I made them out of smaller pieces I had already made or simple textures and Unity Primitive shapes. They're just simple with colliders. What you see in game is what it is.
5. Grass
Grass was actually a really fun complex problem to solve for me. I wanted organic growth of spawning grass using raycasting, that spawns more grass recursively, but I had to come up with a method of limiting it from spiraling into single digit frame-rates. I created an array of booleans that represented a 100x100 area in local space units across the central land mass that simply recorded if grass had already been spawned in that array slot, and prevented any grass checking that spot from growing. This was actually the main thing that helped optimize grass growth. the rest is making sure there's enough time between checks and covering an area around itself with enough accuracy to get onto the vines and new land pieces without going overboard. This was for sure a fun one to solve though.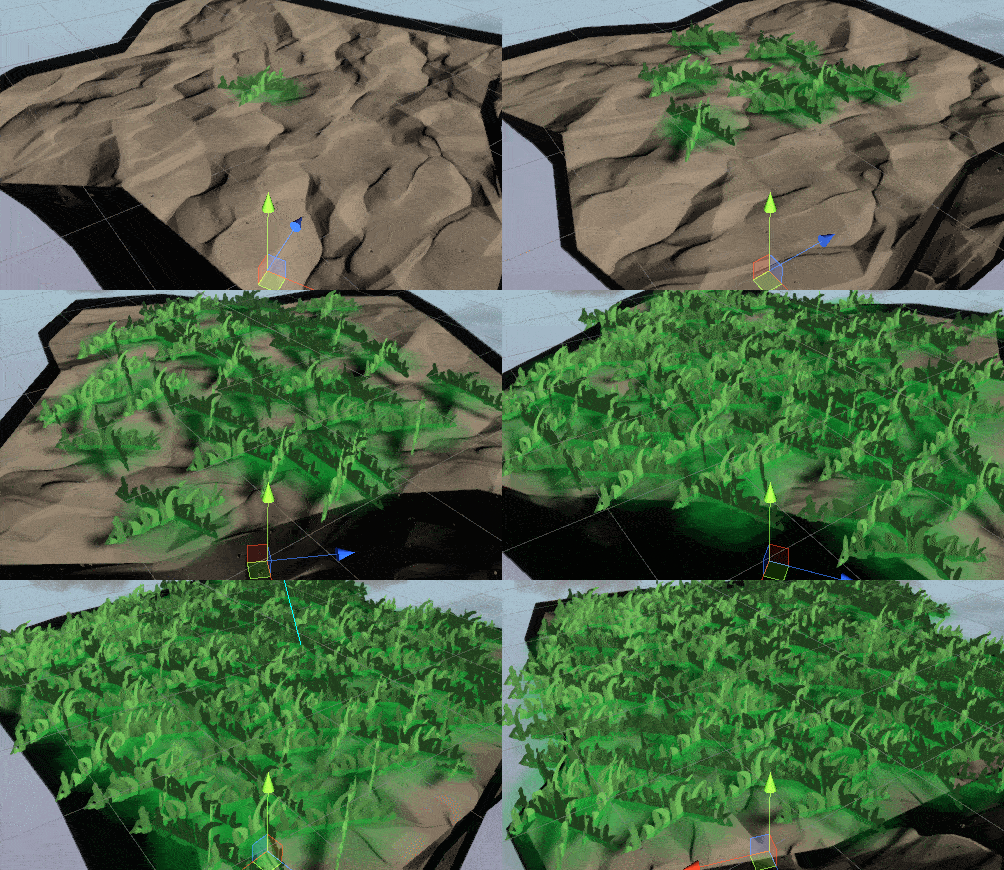
6. Animals/Creatures/Fauna
There's not a lot to say about this one that you can't see in the game itself, but I might as well talk about the process and workflow a little since it was just so time consuming. Of my goals for this jam, this one important part of the ecosystem on top of everything else, was BY FAR the most generous over-estimation of my skills and speed in 3D development.
> If you already know about 3D stuff, or have no interest, just skip this part. I'm ranting over here. <
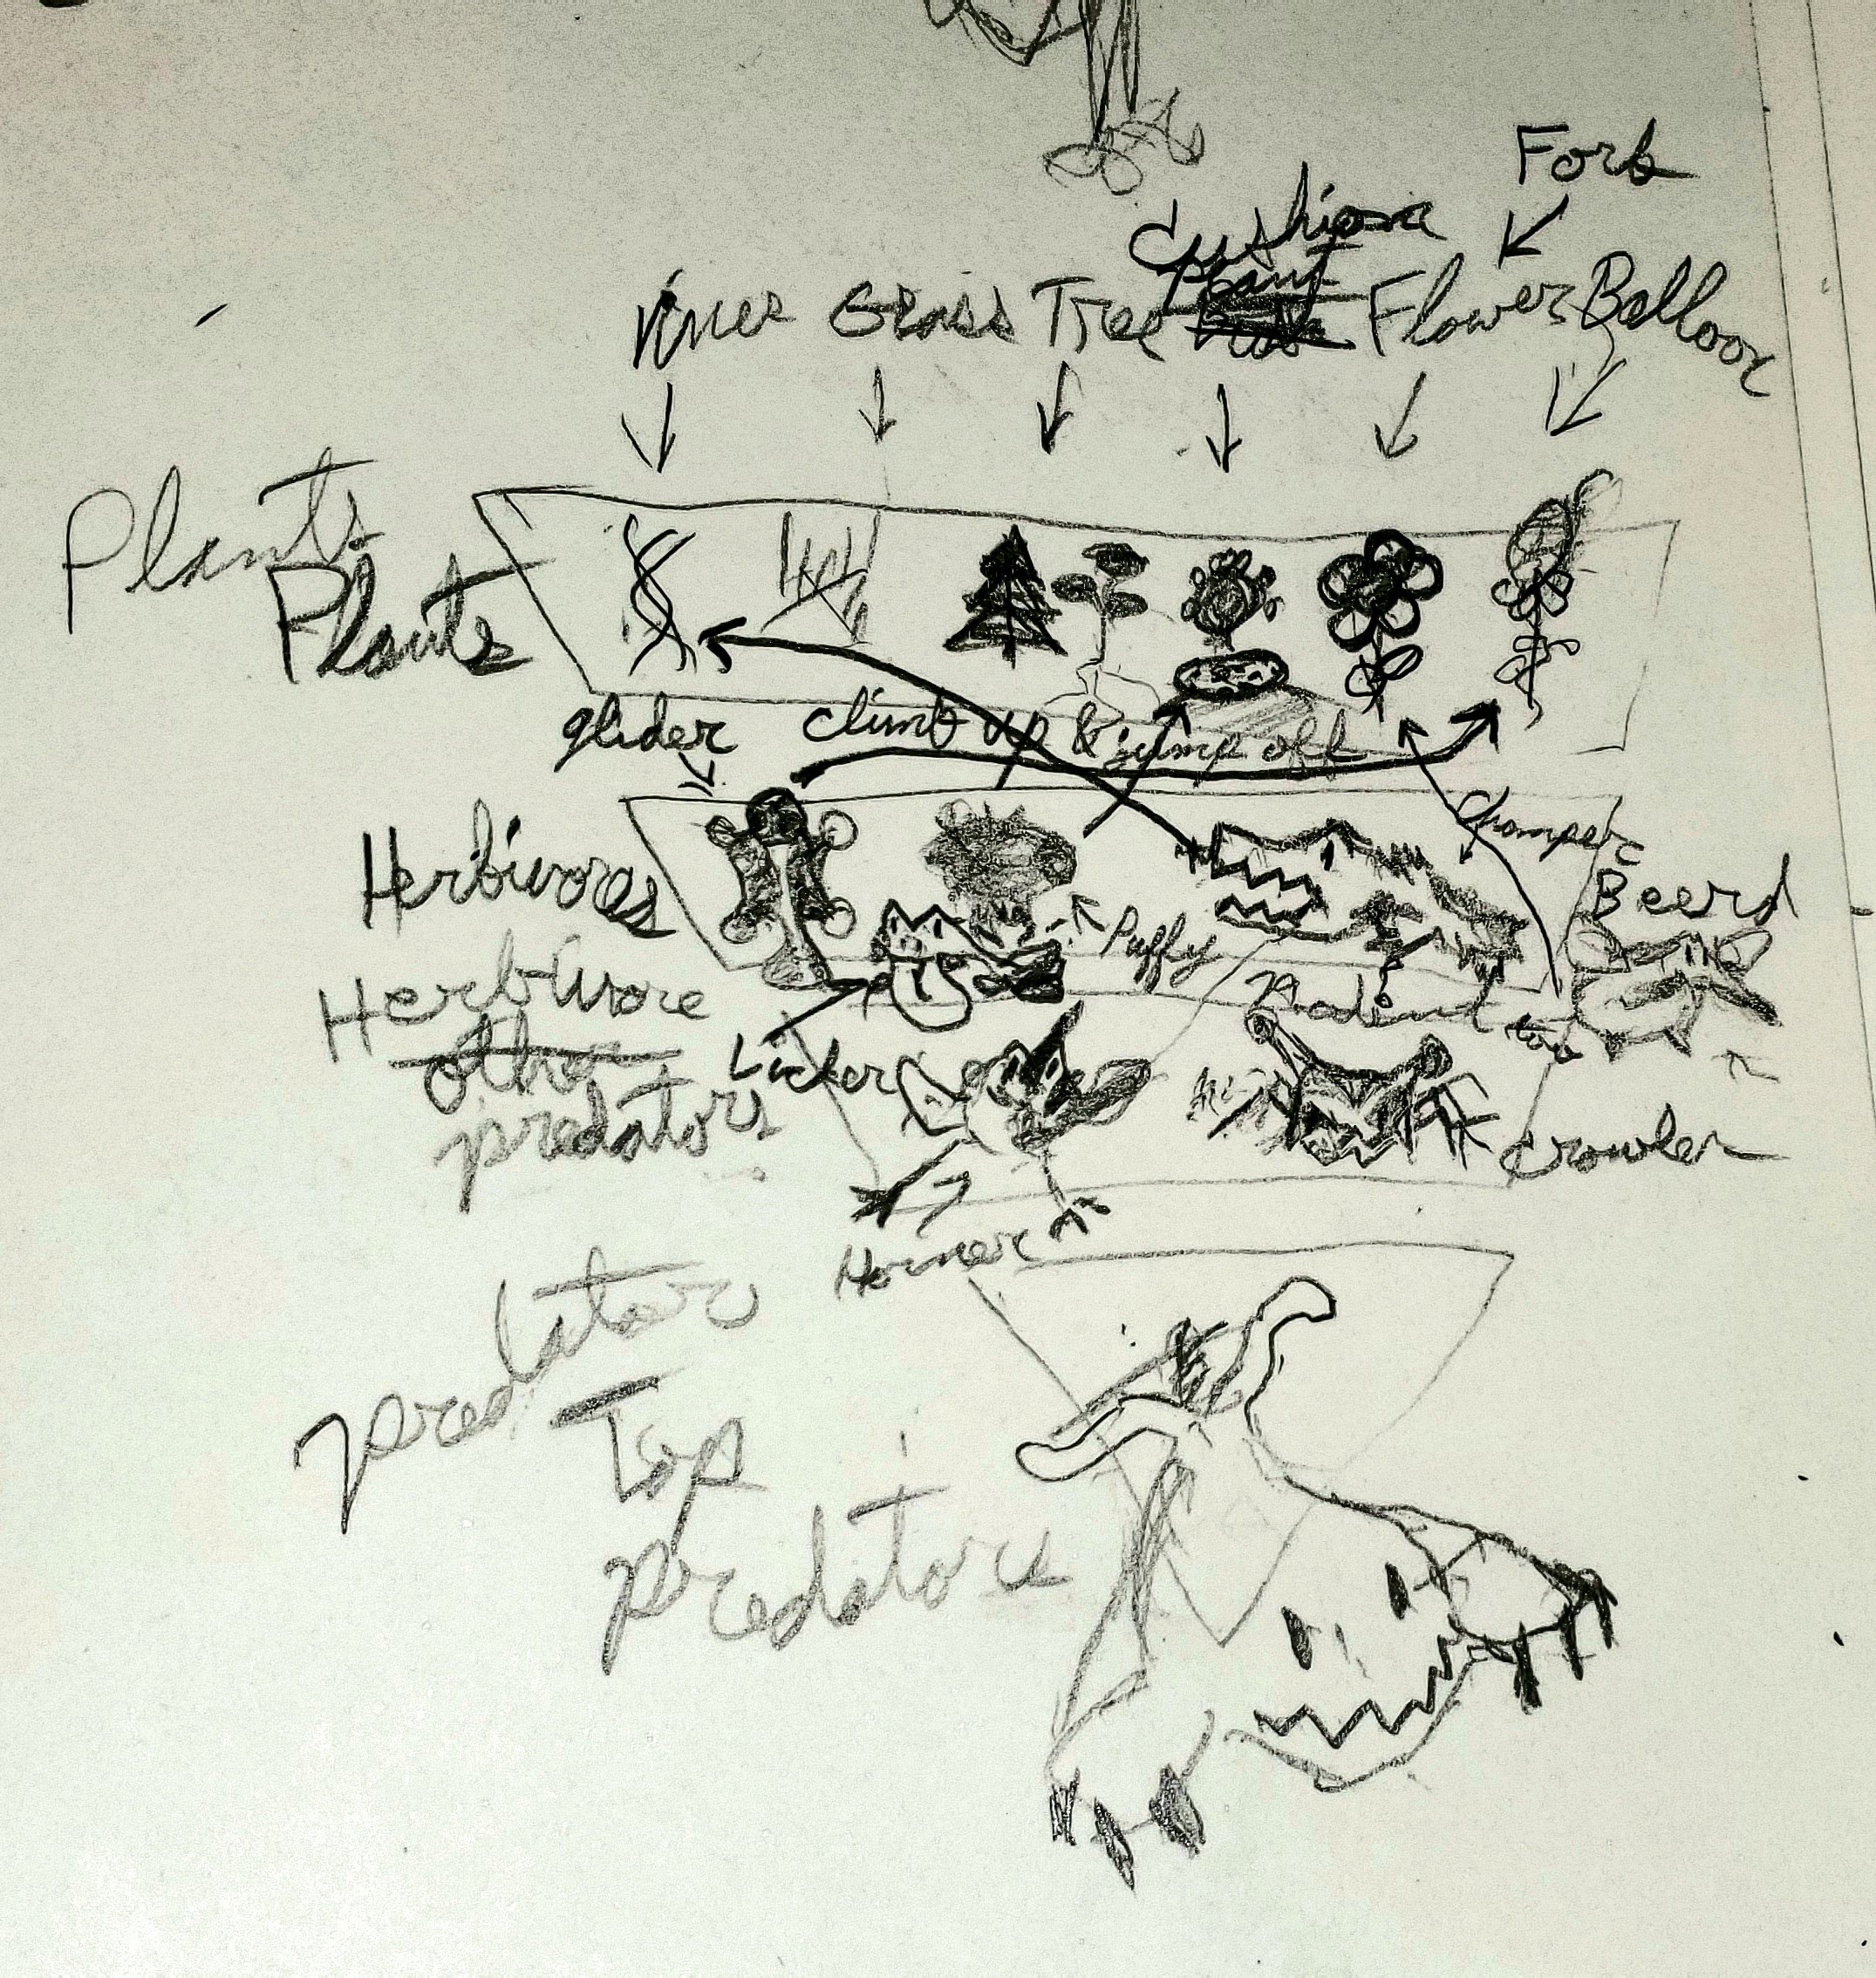
So step 1. I had to design the creatures on paper to be simple enough for me to model, without going too deep on modeling, and requiring a low amount of bones to rig and animate. So, I picked my favorites with a focus on behavior variety out of the food pyramid you saw earlier. The sky bear for instance was a bit of twisting to make something big, simple, and funny, but not too cliche like a sky whale. The glider on the other hand was just me going like... hmm... i can't actually improve on a sugar glider, it's just too cute. I also thought it's A.I. behavior would be the most entertaining to watch
Step 2. I had to model it. Modeling isn't too bad for me, but I'm still just an amateur, and I like to just hand manipulate a small number of vertices to get the shape right before adding more model detail. (The sky bear I actually did sculpt though, which was a fun learning experience.) At the end of the day though, this process takes time regardless of simplicity, and sometimes staring at verts for hours sucks, especially knowing you have to mark seams for the UV map, maybe paint a texture, rig bones, weight paint those bones, and then drop it into Unity praying you got all the previous steps and exporting done right to have it be workable, animating the character within Unity, (you could do that part in blender too, but I prefer the comfort of seeing it work specifically in the Unity engine), and then coding the creature's behavior to move around. But, I digress, the accumulation of tasks while being a solo-game-dev can weigh heavy on the heart at times and does require discipline to push through.
Step 3. Mark UV Seams. This part isn't too bad typically, it's kind of nice to have a part that's more puzzle than creative endeavor. I just look for areas where I need more detail and mark seams around those points. Then I break down the rest, like finding edges near sharp angles to mark, and also spots that are mostly out of sight for the player and mark those areas more loosely with seams. It's not as bad for me because I try to limit the amount of texture painting I do, and keep it simple. It's nice when I have the object broken down into separate materials and I can just smart UV without a second thought.
Step 4. Texture Painting. This part SUCKS. Especially for specific spots near sections with a lot of angles. Just painting a spot and then turning the camera slightly to make sure it doesn't look too weird is rough.
Step 4.5. This is where I would put down my height map/ normal map painting skill... IF I HAD ONE! If I don't 3D model it, I usually just let this bit go.
Step 5. Bone Rigging. This part requires some foresight on what I actually want to animate, because if I'm not going to animate it, I probably don't want to waste time adding the complexity of more bones, but if I don't now, I could end up having to work all the way back to this point, which does kinda suck. I usually prefer to stay on the safe side and add bones for stuff I might only use for the slightest detail. I also try to keep the bones the same size for like no real reason other than my anxiety in using 3D tools. I love to use a very low number of bones especially with creatures, because then I don't have to delve into inverse kinematics and it saves a lot of time on my part especially in the animating stage.
Step 6. Bone Weight Painting. This is mostly just cleaning up bits the bones shouldn't be moving. Like sometimes an arm bone will move the head a little and I gotta make sure to subtract a little from the area to keep it from jiggling too much in animating.
Step 7. Exporting. This part isn't actually that long. It just represents the stress of having the previous 6 steps ruined in some way. I'm especially careful about my options selections at this point. It's a huge relief once the character is in the Unity Scene and looking OK.
Step 8. Animating. I use the Unity Engine to animate the characters because I'm a little more familiar with it and I like having the characters in the space to give me a better feel for moving them around, and adding details.
Step 9. Coding the Creature. This part could have been so much more complicated if I had actually added eating and breeding into the ecosystem like I had planned, but I'm seriously tired at this point and I have spent plenty of time on this project. Anyways... It was already very difficult to move all the creatures relative to the central island mass without them falling off. They had to go fast enough to not slip away from the moving central land mass, but slow enough so they didn't always fly off the central mass base. They're able to find plants to go to by being given targets from the EcoSystem Manager class I made. It runs with a low enough frequency to not drain too much of the computer power, and giving the creatures a little time to dwell, but fast enough so the creatures aren't standing still for awkward amounts of time. The fauna layer that all the creatures are on doesn't even interact with itself for physics, because I figured the creatures would be bumping into eachother like constantly. The Sky Bear is actually super simple, and just spins on a pivot attached to the central island at a distance that we tell it to.
That's p much everything I feel like mentioning. Other misc stuff is like, how much effort it takes to finally polish off a project in terms of sound and graphics to go on the website. For sound, I used this thing called Bfxr, rly handy for simple game sounds, and for music I used just Ableton Essentials that I know from my college course on computer music. For graphics, I just used Krita. A very strong tool with only SOME bugs. (Krita plz make wrap around mode more solid.)
OH WAIT
7. Always Have a Cinematic Camera
This might be a small detail. But, G.D. does having an in-game cinematic camera make recording video material for a trailer and small animated gif clips easier. Mine is as simple as just a basic orbit camera script that targets random creatures, but you can add other things to it too. And it's also nice for players too who would like to see your game in a new way.
Leave a comment
Log in with itch.io to leave a comment.